How to Remove a Tile Backsplash (to Replace with Something Better)

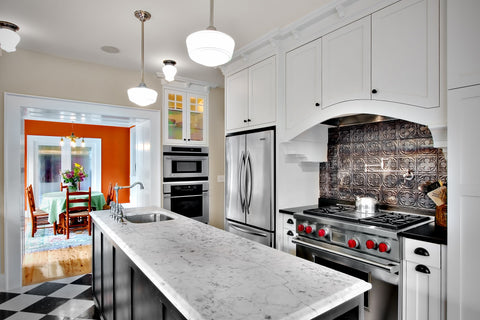
Ever make a design decision that you regretted later? You don't have to live with remodel regret! Thankfully, ceilings and backsplashes are easy enough to remove to replace with something better. Our tin tiles are beautiful, start at under $2 a square foot and can be installed on any surface. With all our color and pattern options and plenty of sample pack variety, take your time choosing a look you love for your new tin backsplash or ceiling.
How to Remove a Tile Backsplash

If you tried to update your kitchen with a non-tin tile backsplash in the wrong color or material, the first thing you want to do when going to remove it is to protect your countertops, cabinets and sink area with a drop cloth or thick paper. The next step is to use a little elbow grease. Grab a hammer and a screwdriver and position the screwdriver flat against the wall with the tip resting on the top tile. Tap the hammer until the screwdriver is wedged between the tile and the wall and start prying it off. How much caulk and adhesive you used to attach it depends if it'll come off easily or be a struggle - some tiles may even need to be broken into pieces. The drywall behind the backsplash will look pretty rough around the edges after you start ripping tiles off, but don't worry about if you just plan on covering it up again anyway. If you can deal with it looking worse before it looks better, you're ready to purchase some beautiful tin tiles as a replacement.
Ceilings Are Even Easier
If you have terrible popcorn ceilings, you may have researched how to remove them. Good news, with our patented SnapLock™ tiles, there's no need! You can screw our tin directly over drywall and popcorn ceilings for the easiest remodel ever.


